
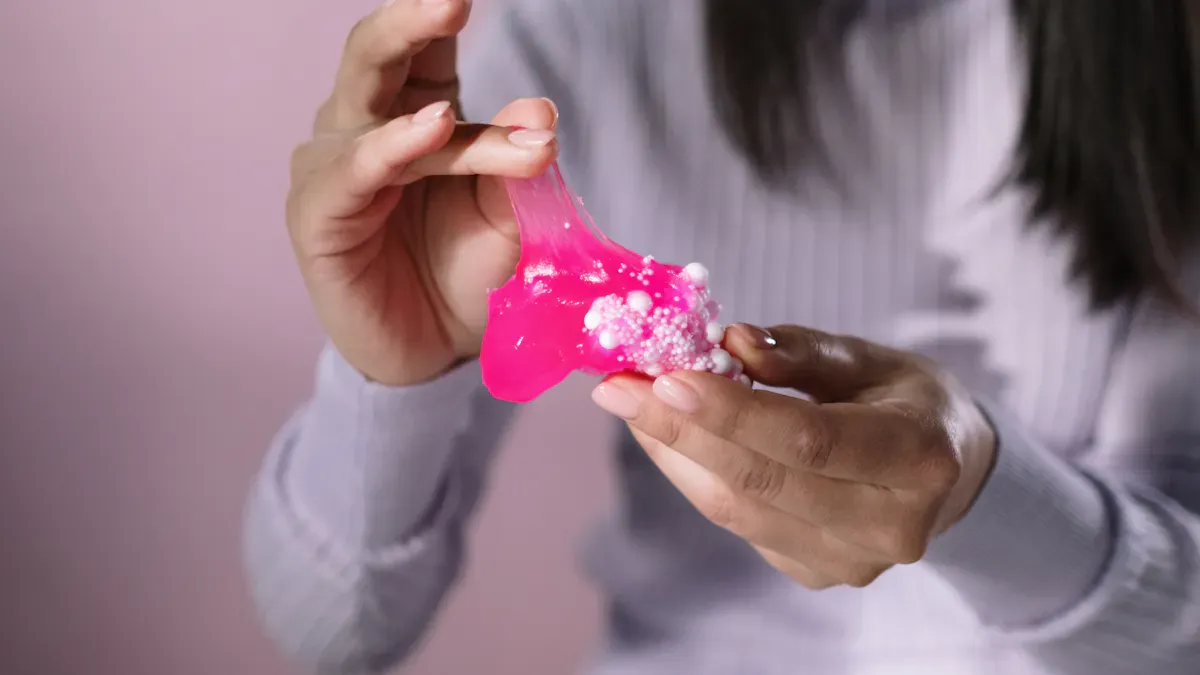
You can make calcium alginate beads at home using sodium alginate with calcium chloride. When you mix sodium alginate with calcium chloride, the gelation process begins. Calcium ions move between the alginate chains and create strong links. Scientists refer to this as the “egg-box model.” The calcium ions connect pairs of guluronic acid parts in the alginate, resulting in a firm gel that holds liquid inside each bead. You can alter the texture of the beads by adjusting the amounts of sodium alginate with calcium chloride used in the mixture.
Key Takeaways
Use a sodium alginate concentration from 1.5% to 2.0%. This amount helps the beads keep their shape. It also stops them from leaking.
Change the calcium chloride level to make beads harder or softer. If you use 100 mM, the gels will be soft. If you use more, the beads will be firmer.
Mix sodium alginate with water very well. Let it sit so bubbles go away. This makes the beads clear and smooth when they form.
Try different amounts of sodium alginate and calcium chloride. This helps you get the bead texture you want. More alginate makes beads stronger. Less alginate makes them softer.
Always use clean tools and distilled water. This gives you the best results. It keeps your alginate solutions clear and free from germs.
Materials and Ratios
Sodium Alginate Solution
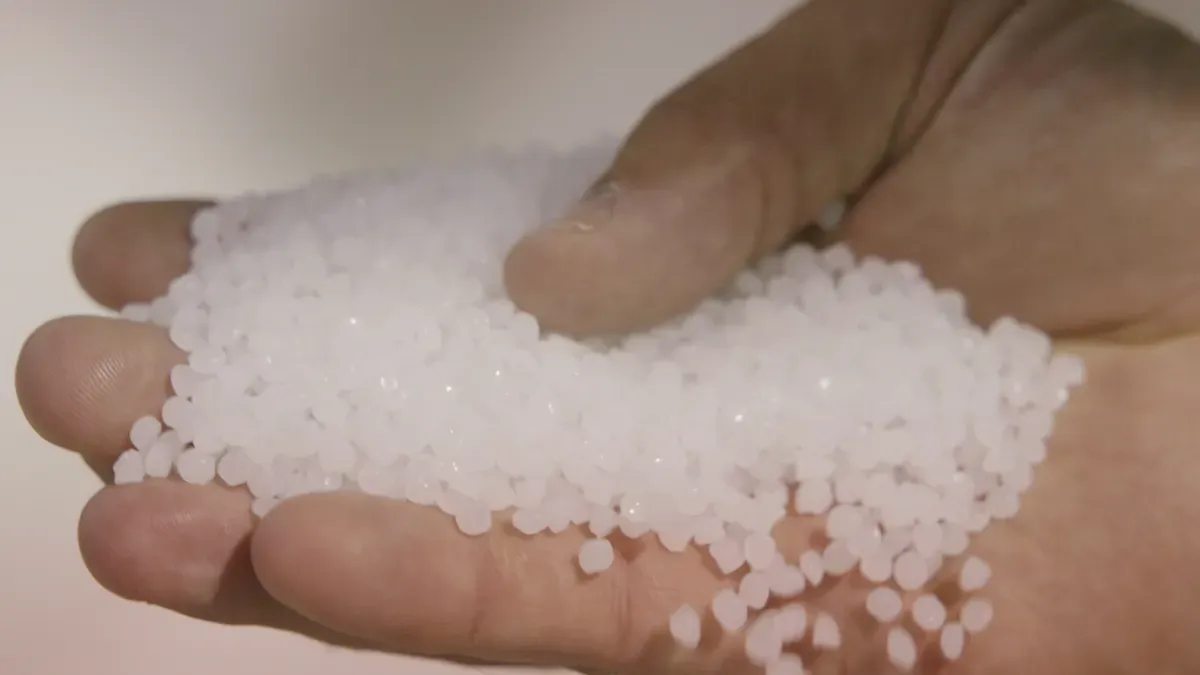
You need sodium alginate to make the solution. This powder comes from seaweed. It forms a gel when you mix it with water. The best amount to use is between 1.5% and 2.0%. This amount helps you make beads that look the same. It also keeps the liquid inside the gel. If you use only 0.5%, the beads might leak and lose their shape. If you use up to 3%, the solution gets thicker. This can make bigger beads. The kind of sodium alginate you use is important too. Alginates with more G-blocks make stiffer gels with bigger holes. Alginates with more M-blocks make softer and stretchier gels.
Component | Concentration Range |
|---|---|
Sodium Alginate |
Calcium Chloride Solution
You also need a calcium chloride solution. This chemical gives calcium ions. These ions react with the alginate solution to make beads. The usual amount for calcium chloride is between 100 mM and 500 mM. Most people use 100 mM for a gentle gel. You can use more for firmer beads. If you use too little, the beads may not set well. If you use too much, the beads can shrink or break apart. The table below shows what happens with different amounts of calcium chloride.
Calcium Chloride Concentration (g/m²) | Observed Behavior |
|---|---|
Below 3.6 | No big shrinking; not much network |
6.71 – 13.42 | More water comes out; denser network |
Above 13.42 | Too much Ca2+; beads start to break |
Tools Needed
You need some basic tools to make the sodium alginate and calcium chloride solutions. Use a blender or hand mixer to mix sodium alginate with water. This takes about 5 to 10 minutes. A mixing bowl helps you put the ingredients together. Use pipettes to measure and drop the alginate solution into the calcium chloride bath. A magnetic stirrer can help, but a blender is faster.
Tip: Always mix sodium alginate with water first. Let it sit until all bubbles are gone. This step helps you get clear and smooth beads.
The amount of sodium alginate and calcium chloride changes bead size and texture. A thicker alginate solution makes bigger beads. The drops keep their shape better. More calcium chloride or longer soaking makes the beads smaller and firmer. The balance between these two solutions controls how thick the gel is and how strong the beads are. If you want soft and stretchy beads, use less calcium chloride and less alginate. For firmer beads that do not let much through, use more of both.
Gelation Process
Mixing Sodium Alginate with Calcium Chloride
First, you need to make two different solutions. One has sodium alginate mixed in water. The other has calcium chloride. Use a pipette or dropper to add drops of the sodium alginate solution into the calcium chloride bath. When the drops touch the calcium chloride, small beads form right away. This is because of ionic gelation. The calcium ions move fast into the alginate drops. They start to take the place of sodium ions in the alginate chains.
Here is what happens during gelation:
Calcium ions swap places with sodium ions in the sodium alginate.
Each calcium ion has a +2 charge. It can connect to two parts of the alginate at once.
These connections make cross-links between the alginate chains.
The cross-links change the liquid alginate into a solid gel bead.
You can see the gelation process as the drops turn into small, round beads. The beads look clear and smooth. If you measure them, wet beads are about 4 millimeters wide. After drying, the beads shrink to about 2 millimeters. The beads also lose about 90% of their weight after drying. These changes show that gelation worked.
Tip: To make bigger beads, use a thicker alginate solution or a bigger dropper. For smaller beads, use a thinner solution and a smaller dropper.
How Gelation Occurs
Gelation happens because of a special reaction called ionic gelation. When you add sodium alginate to calcium chloride, the calcium ions move into the alginate. They push out the sodium ions and take their place. This process is called the “egg-box model.” In this model, each calcium ion fits between two pairs of guluronic acid groups in the alginate. The calcium ions hold the alginate chains together. This makes a strong gel network.
How alginate gelation works depends on how many G-blocks and M-blocks are in your alginate. G-blocks make the gel stiffer and stronger. M-blocks make the gel softer and more flexible. The calcium ions like to stick to the G-blocks. This sticking forms a stable structure that looks like eggs in a box.
The speed of gelation depends on a few things:
Mechanism/Factor | Description |
|---|---|
Gelation Rate | Slow gelation gives strong beads. Fast gelation can make beads weak or uneven. |
Ion Competition | Other ions, like phosphate, can slow down gelation by competing with calcium. |
Calcium Source | Calcium chloride causes fast gelation. Other sources, like calcium sulfate, slow it down. |
Temperature Effect | Lower temperatures slow down gelation. Higher temperatures speed it up. |
G/M Ratio | More G-blocks make the gel stronger. More M-blocks make it softer. |
Cross-linking | Calcium ions replace sodium ions in G-blocks, forming the “egg-box” structure. |
Structural Characteristics | G-blocks add strength. M-blocks add flexibility. |
How you mix your solutions and the temperature you use can change the gelation process. If you use cold water, gelation will be slower. This can help you make beads with a better shape.
Effects of Concentration
The amount of sodium alginate and calcium chloride changes how gelation works and what your beads are like. If you use more sodium alginate, the beads get stronger and harder. This is because there are more alginate chains for the calcium ions to connect. The beads get stronger as you add more alginate, but only up to a point. If you add too much, the beads can get too stiff and break easily.
If you use too much, the beads can lose strength or change shape.
A study showed that beads with 8% sodium alginate were much stronger than beads with less.
The amount of calcium chloride also changes gelation. If you use more calcium chloride, gelation happens faster and the beads get firmer. The beads also shrink more because the calcium ions pull the alginate chains closer together. This makes more cross-links and the beads do not swell as much.
Swelling Degree | Elasticity Factors | |
|---|---|---|
Increased | Decreased | More cross-linking, stronger gel, less swelling |
You can control gelation by changing the concentrations. If you want soft and flexible beads, use less calcium chloride and less sodium alginate. For hard and strong beads, use more of both. The balance between these two solutions controls the final texture and strength of your beads.
Note: The temperature of your solutions matters too. Lower temperatures slow down the movement of ions. This can help you make beads with a more even gel structure.
Gelation is an important part of making calcium alginate beads. By learning how ionic gelation works and how concentration changes gel formation, you can make beads with the properties you want. Try different ratios and temperatures to see how the gelation process changes your results.
Making Beads
Preparing Solutions
You need two main solutions to make alginate beads. First, mix sodium alginate and calcium chloride with water. Use clean water for both solutions. Sprinkle sodium alginate powder into water while stirring. This stops lumps from forming. Let the mixture sit until it looks clear. You can use a blender or hand mixer to mix faster. Let the solution rest so bubbles go away.
Next, make the calcium chloride solution. Measure calcium chloride and add it to water. Stir until it dissolves. Room temperature water works fine. If you want to sterilize your solutions, use an autoclave on a gentle setting. This helps if you use beads for food or science.
Here is a table showing how different conditions change your alginate beads:
Condition | Result | Notes |
|---|---|---|
Viscous granulating liquids | Long, dumbbell-shaped pellets | Harder to handle during extrusion |
Watery granulation liquid with calcium chloride | Short, nearly spherical pellets | Less swelling, better for spherification |
3% calcium chloride as granulating liquid | Higher mean dissolution time | Stronger cross-linking, slower to dissolve |
Always measure sodium alginate and calcium chloride carefully. This helps you get the same beads every time. Follow these steps to make sure your solutions are ready:
Add sodium alginate to water and mix well.
Let the solution rest until clear.
Add calcium chloride to water and stir.
Fill each solution to the final volume you need.
Tip: Use clean tools and containers. This keeps your alginate beads free from unwanted particles.
Dropping Sodium Alginate into Calcium Chloride
Now you can start making beads. Fill a bowl with calcium chloride solution. Use a pipette, syringe, or dropper to pick up sodium alginate solution. Hold the dropper above the calcium chloride bath. Gently squeeze out drops. Each drop falls into the bath and forms a bead. This happens because of ionic cross-linking. Calcium ions react with sodium alginate and make a gel shell.
The extrusion method lets you control bead size. A bigger dropper makes larger beads. A smaller dropper makes tiny beads. Keep your hand steady to make beads that look the same. Stir the calcium chloride bath gently. This keeps beads from sticking together.
Here is a table showing what happens during this step:
Evidence | Description |
|---|---|
Curing of alginate gels | More calcium chloride makes beads rounder and stronger. |
Droplet formation | Beads form when you drip sodium alginate into calcium chloride. |
Instantaneous gelling | |
Reticulation process | Stirring at 400 rpm helps complete cross-linking and keeps beads separate. |
You can see beads form right away. This is important in spherification, a fun cooking technique. The extrusion process is simple, but you need to pay attention. If you want to make many beads at once, use a syringe with many tips.
Note: Do not let the dropper touch the calcium chloride solution. This can clog the tip and stop the extrusion.
Tips for Success
You can get better results with a few easy tips. These steps help you make perfect alginate beads every time.
Make sure each drop forms a sphere. Let calcium chloride react with sodium alginate for about 30 minutes before testing beads.
Do not dip the pipette into the hardening solution. Rinse it with water if it gets sticky.
Try to make all beads the same size. This makes your results more reliable.
Rinse finished beads three times with clean, chlorine-free water. Store them in this water until you use them.
Keep beads at room temperature. Do not put them in direct sunlight. Some light helps with gas exchange.
Control humidity in your workspace. High moisture can make beads swell too much and lose their shape.
Do not move beads while they form. This keeps them stable and protects the inside.
Here is a quick checklist for your extrusion process:
Prepare sodium alginate with calcium chloride solutions.
Use a steady hand for extrusion.
Stir the calcium chloride bath gently.
Rinse and store your alginate beads properly.
Tip: Practice makes perfect. Try different droppers and stirring speeds to see what works best for your spherification projects.
You can use these steps for science or fun in the kitchen. The extrusion method is popular in labs and restaurants. You can make alginate beads for drinks, desserts, or to protect probiotics. Cross-linking sodium alginate with calcium chloride gives strong, flexible beads. Spherification lets you create new textures and flavors in food. You can also use extrusion to make beads for research or teaching.
By following these steps, you can learn how to make alginate beads. You will see how easy it is to use sodium alginate with calcium chloride for spherification and extrusion. Try different ratios and methods to find your favorite way to make beads.
Troubleshooting
Beads Not Forming
Sometimes, your calcium alginate beads do not form. This can happen if your sodium alginate or calcium chloride solutions are too weak. If you use very little powder, the gels will not set. Check your measurements to make sure you use enough powder for both solutions. The water you use can also change how the gels work. Tap water with lots of minerals can make the gels act differently. Try using distilled water for better results.
The size and reticulation of alginate beads change a lot when you use more or less calcium chloride in your mixture.
If you still do not see any beads, check the temperature. Cold solutions slow down the reaction. Warm solutions help the gels form faster. Always add sodium alginate drops slowly into the calcium chloride bath. This helps you make round beads for food or science.
Beads Too Soft or Hard
Sometimes, your beads feel too soft or too hard. The texture depends on how much sodium alginate and calcium chloride you use. If you use too little calcium chloride, the gels stay soft and may break apart in food. If you use too much, the beads get hard and rubbery. The type of alginate you use also changes how the beads feel. Some types make stronger gels, while others make softer ones.
Factor | Description |
|---|---|
Alginate is a copolymer of mannuronate (M) and guluronate (G) stereomonomers. | |
Divalent Cations | The presence of divalent cations, particularly calcium, is crucial for forming hydrogels. |
M:G Ratio | The ratio of M to G affects the crosslinking capacity and thus the physical properties of the gel. |
Crosslinking Mechanism | Calcium ions create an “egg-box” structure by crosslinking two polymer chains, influencing hardness or softness. |
You can change how your beads feel by using more or less calcium chloride or sodium alginate. For softer beads in food, use less calcium chloride. For firmer beads, add more calcium chloride. Always test a few beads before making a big batch.
Solution Clarity Issues
Cloudy solutions can make your beads look dull. If you see bubbles or haze, let your sodium alginate solution sit until it looks clear. Mixing too fast can trap air in the gels. Use a blender at low speed or stir by hand. If you see particles, filter the solution before you use it. Clean tools and containers help keep your gels clear and smooth.
The strength of alginate beads depends on how much calcium chloride you use, the kind of ionic salt, how much sodium alginate you add, and if there are other polymers.
If you want to add bioactive ingredients for food or science, mix them well with the sodium alginate before making beads. This helps keep the special parts inside the gels. You can use these beads to protect food ingredients, probiotics, or even medicine. The right process gives you strong gels with the properties you need for food or bioactive delivery.
Studies show that entomopathogenic nematodes (EPN) cannot escape from calcium alginate beads unless the beads break or seeds inside start to grow. This makes the EPN lose energy and die early. Chen and Glazer (2005) found that adding glycerol can make EPN rest, and later studies proved this works (Kary et al., 2017, 2018).
If you want to use your beads for bioactive delivery in food, always check how your gels turn out. The right balance helps keep the bioactive compounds safe and working.
You can make calcium alginate beads at home. Just mix sodium alginate with calcium chloride. If you change how much of each solution you use, you can control bead size and texture. The table below shows what happens when you change different things:
Key Finding | Description |
|---|---|
Calcium Chloride Concentration | Using more makes the beads smaller. |
Molecular Weight Influence | Higher molecular weight also makes smaller beads. |
Gelling Process Factors | The M/G ratio and calcium ions help you make special hydrogels. |
Trying these steps helps you learn about science. You will see how hydrogels work in real life.
FAQ
What is encapsulation in alginate bead making?
Encapsulation means putting something inside an alginate bead. This process helps keep things like flavors, vitamins, or probiotics safe. The alginate makes a gel shell around the center. This shell protects what is inside until you want to use it.
How does bead size affect encapsulation?
The size of the bead changes how much it can hold. Small beads hold less stuff. Big beads can hold more. You can change bead size by using different alginate solutions, droppers, or machines. The inside network of each bead also helps with how well things stay inside.
Why is alginate popular for encapsulation technology?
Alginate is safe and simple to use. You can make beads in many sizes. The gel network forms quickly when you add calcium chloride. People use alginate encapsulation for food, medicine, and science.
Can I change the network strength in alginate beads?
Yes, you can change how strong the network is. Use more or less alginate and calcium chloride to do this. A strong network makes hard beads. A weak network makes soft beads. The network strength also helps protect what is inside the bead.
What is the role of extrusion technology in making alginate beads?
Extrusion technology lets you control bead size and shape. You use a syringe or pipette to drop alginate into calcium chloride. This makes the gel network form fast. People use extrusion technology for encapsulation in food and science.
Tip: Always check bead size and network strength before making a lot. This helps you get the best results for encapsulation.
Term | Meaning |
|---|---|
Encapsulation | Putting something inside a bead |
Alginate | Gel-forming powder from seaweed |
Network | Structure inside the bead |
Bead Size | How big or small the bead is |
Extrusion Technology | Dropping alginate to form beads |


