
You can learn how to roast coffee beans at home. You can use a pan, oven, or roasting machine to achieve the perfect roast. Roasting at home saves money, and you also get to enjoy fresh coffee.
Daily savings: $0.91
Annual savings: about $333.71
Type of Roaster | Description | |
|---|---|---|
Basic Models | $45 – $225 | You use your hands, roast small amounts, and controls are easy. |
Mid-Range Models | $500 – $1,000 | These hold more beans and control heat better. |
High-End Models | $1,750 – $5,850 | These have advanced controls and roast like a pro. |
Key Takeaways
Roasting coffee beans at home costs less. You get fresh coffee every time. You can save about $333.71 each year.
Pick the right green beans for better taste. Look at where they come from and how they are processed. Try different kinds to find what you like best.
Watch the roasting process carefully. Listen for the first crack to know the roast level. Cool the beans fast to keep their flavor.
Preparation and Equipment
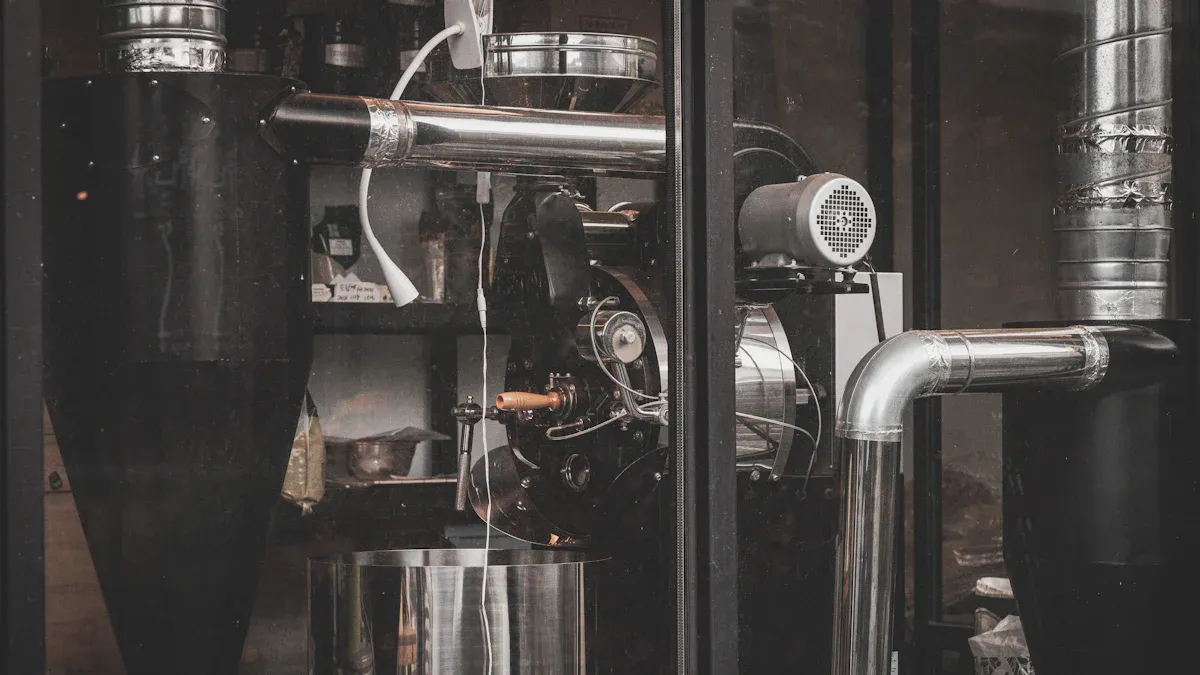
Tools for Home Roasting
You don’t need fancy gadgets to start roasting. Many people use entry-level electric roasters, air roasters, or even a popcorn popper. You can also try a pan or your oven if you want to keep things simple. Here’s what you’ll need:
Roasting device (pan, oven, popcorn popper, or roasting machine)
Metal colander or cooling tray for cooling beans
Digital scale (0.1g accuracy helps)
Timer to track your roast
Breathable bags for green beans and airtight containers for roasted beans
Tip: Good ventilation is a must. Use a kitchen range hood or a window fan to clear out smoke and fumes.
Choosing Green Beans
Picking the right green beans makes a big difference in flavor. Think about these factors:
Origin: Beans from different places taste unique. Soil, climate, and altitude all matter.
Processing method: Washed beans taste clean and bright. Natural beans have fruity notes.
Flavor notes: Choose beans that match your taste. Guatemalan beans are balanced and great for beginners. Colombian beans are affordable and flavorful. Jamaican Blue Mountain beans are special but best for advanced roasting.
If you want to learn how to roast coffee beans that match your favorite flavors, try beans from different regions and see what you like best.
Setting Up Your Space
Safety comes first. Roasting gets hot and smoky, so set up your space with care:
Keep your area well-ventilated. Install an exhaust fan or roast outside if you can.
Place a fire extinguisher nearby.
Organize your tools in order: green beans, roaster, cooling tray.
Lay down a tarp to catch chaff and make cleanup easy.
Note: Always clean your equipment after roasting. This prevents fires from oil and chaff buildup.
How to Roast Coffee Beans: Step-by-Step
Preheat and Start Roasting
You want to start strong when you learn how to roast coffee beans. Preheating your equipment makes a big difference. Here’s a quick guide for each method:
Method | |
|---|---|
Oven | 450°F (230°C) or 400°F (205°C) |
Air Fryer | 400°F (200°C) |
Pan | Medium-low to medium heat for 4-5 min |
If you use a pan, heat it up for about five minutes before adding your beans. For an oven or air fryer, set the temperature and let it come up to heat. If you use a roasting machine, follow the manufacturer’s instructions, but always preheat.
Add your green beans in a single layer. For pan roasting, keep the beans moving by shaking or stirring every 15 seconds. This helps them roast evenly and prevents scorching. In the oven, spread the beans on a baking sheet and stir them every few minutes. Roasting machines usually have built-in agitation, but check that the drum rotates smoothly.
Tip: Use the 15-15-15 rule for pan roasting—shake or stir every 15 seconds for the first 15 minutes.
Listen for First Crack
You’ll know you’re getting close when you hear the first crack. This is a key moment in how to roast coffee beans. The beans will start to make a popping sound, kind of like popcorn.
The first crack usually happens at 385°F to 390°F (196°C to 199°C).
It often starts around 11:30 to 12:15 minutes into roasting.
“The first crack occurs when the tough, woody cellulose of the bean can no longer withstand the increasing pressure of the hot water vapor inside, and it bursts out. The bean puffs from within, becoming less dense, more porous, and more brittle.”
“The first crack signifies a physical and chemical transformation as steam builds up within the bean, causing it to expand and crackle audibly. This marks the beginning of the development of desirable flavors and aromas as sugars caramelize and acids break down.”
After the first crack, you can decide how dark you want your roast. Keep watching and listening. If you want a light roast, you can stop soon after the first crack. For a darker roast, keep going until you hear the second crack, which sounds softer and more rapid.
Roast Levels Explained
You get to choose your favorite roast level. Here’s a quick look at what each level means:
Roast Level | Color | Flavor Profile | Acidity | Caffeine Level | Body |
|---|---|---|---|---|---|
Light Roast | Light brown | Bright, floral, fruity hints, complex flavors | High | Higher than dark | Light body |
Medium Roast | Brown | Balanced, sweet, complex flavors, some acidity | Medium | Medium | Medium body |
Dark Roast | Dark brown | Bold, smoky, pronounced bitterness, low acidity | Low | Lower than light | Full body |
Light roasts keep more caffeine and taste bright and fruity.
Medium roasts balance sweetness and acidity.
Dark roasts taste bold and smoky, with less acidity and caffeine.
Contrary to what many people think, a darker roast does not mean stronger coffee. The strength comes from how much coffee you use, not how dark you roast it.
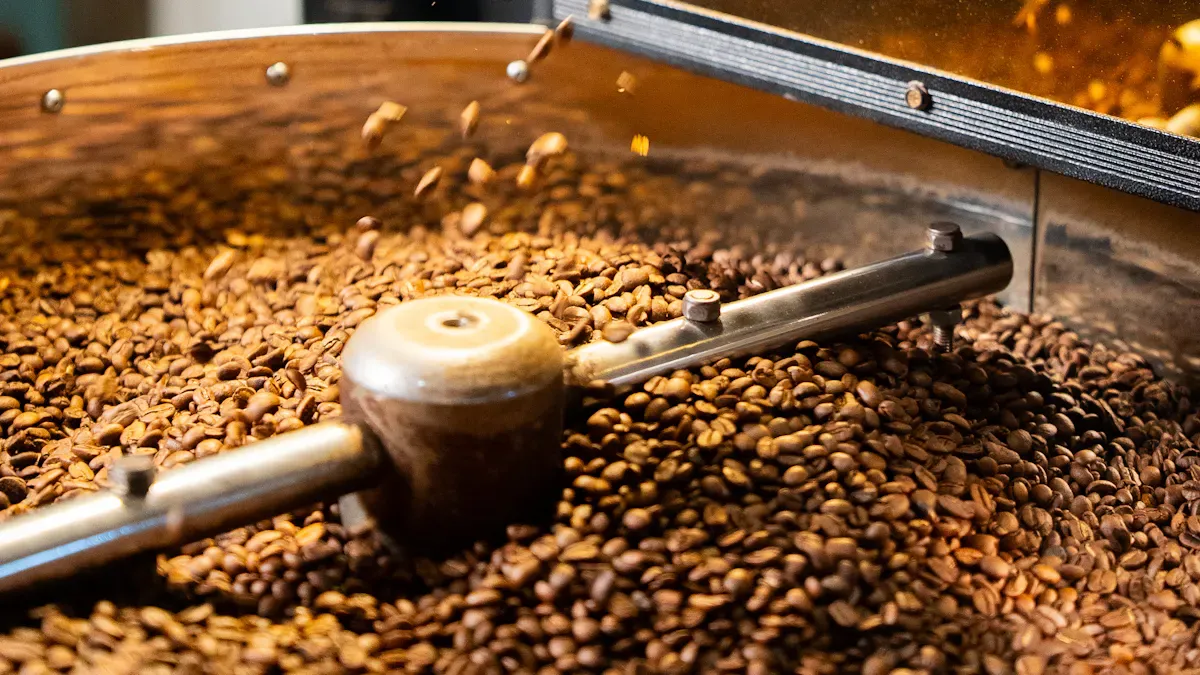
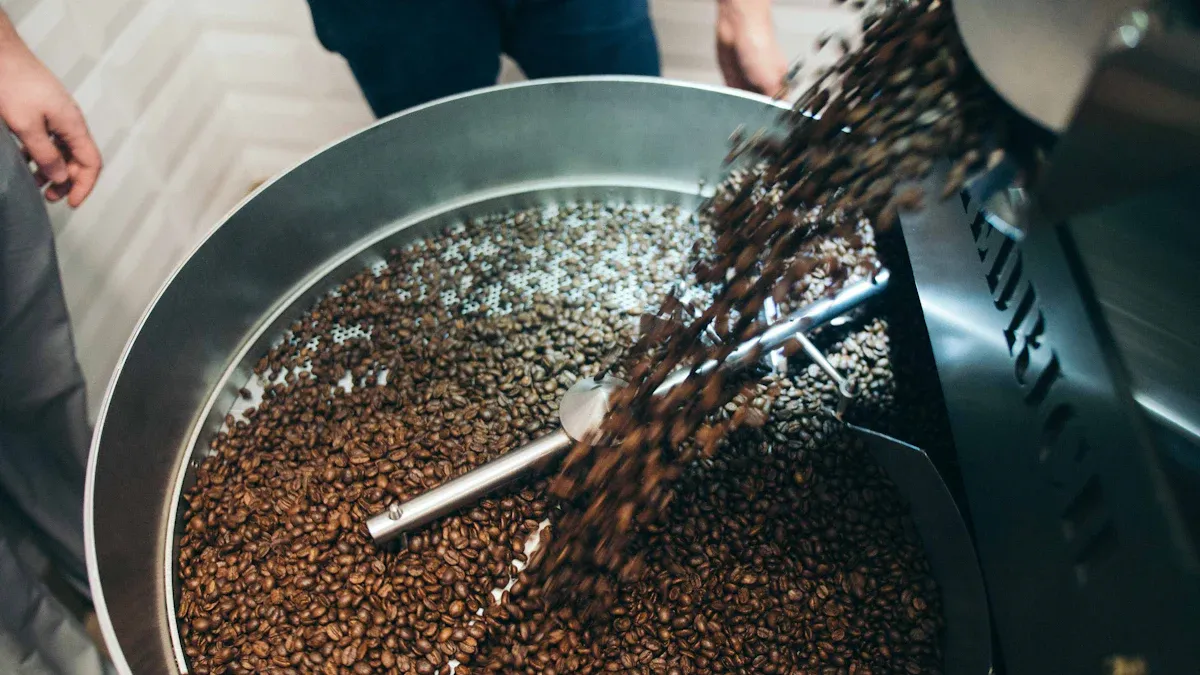
Cooling and Resting Beans
Once you finish roasting, you need to cool your beans fast. This stops the roasting process and keeps your flavors just right.
Advantages | Disadvantages | |
|---|---|---|
Air Cooling | Easy to set up, works well for small batches, cools beans quickly | Hard to control temperature, less even for large batches |
Water Cooling | Precise temperature control, good for big batches | Complicated, can wash away flavors, not for home use |
Most people use air cooling at home. Pour the beans into a metal colander or onto a baking sheet. Stir them or shake the tray to help them cool evenly. If you roast a lot, split the batch to cool faster.
After cooling, let your beans rest. This helps the flavors develop. For pour-over or drip coffee, wait 24 to 72 hours. For espresso, wait 5 to 10 days. Store your beans in an airtight container, away from sunlight.
Troubleshooting Tips
Sometimes things go wrong when you try how to roast coffee beans at home. Here’s a quick guide to common problems and how to fix them:
Issue | Causes | Solutions |
|---|---|---|
Excessive Chaff | Certain beans, poor ventilation, high humidity | Clean chaff, roast in a ventilated area, try wet-processed beans, store beans dry |
Stalled Roasts | Not enough heat, too many beans, cold room | Use smaller batches, preheat longer, increase heat slowly |
Scorched Beans | Too hot at start, beans touch hot surface, not enough movement | Start lower, keep beans moving, use a heavy pan, check exhaust |
Underdeveloped Roasts | Too short roast, dropped beans early, cold air | Roast longer, preheat, protect from drafts, wait for first crack |
You can prevent uneven roasting by using beans of similar size and density, stirring or shaking often, and not overloading your roaster. Always preheat your equipment and sort your beans if you want the best results.
If you want to master how to roast coffee beans, keep notes on each batch. Try different methods and times. You’ll get better with practice, and soon you’ll have coffee just the way you like it.
You can roast coffee beans at home and enjoy fresh, flavorful cups every day. Here’s a quick recap:
Step | What You Do |
|---|---|
Choose a Method | Pick your roasting tool |
Prepare Beans | Get green beans ready |
Start Roasting | Heat and watch the beans |
Monitor Stages | Listen for cracks and adjust |
Cool and Store | Cool beans fast and store airtight |
Home-roasted coffee tastes better because it’s fresher. You’ll notice brighter, richer flavors that store-bought beans can’t match. Try different methods and share your results with friends. Every batch teaches you something new!
Tip: Keep notes on each roast. You’ll discover your perfect cup faster.
FAQ
How long do roasted coffee beans stay fresh?
You get the best flavor if you use your beans within two weeks. Store them in an airtight container away from sunlight.
Can you roast coffee beans without special equipment?
Yes! You can use a pan or your oven at home. Just keep the beans moving and watch them closely.
Why do my beans taste bitter after roasting?
Bitter beans often mean you roasted them too dark or too long. Try stopping your roast earlier next time for a smoother taste.


